Typo3 installation - full instructions
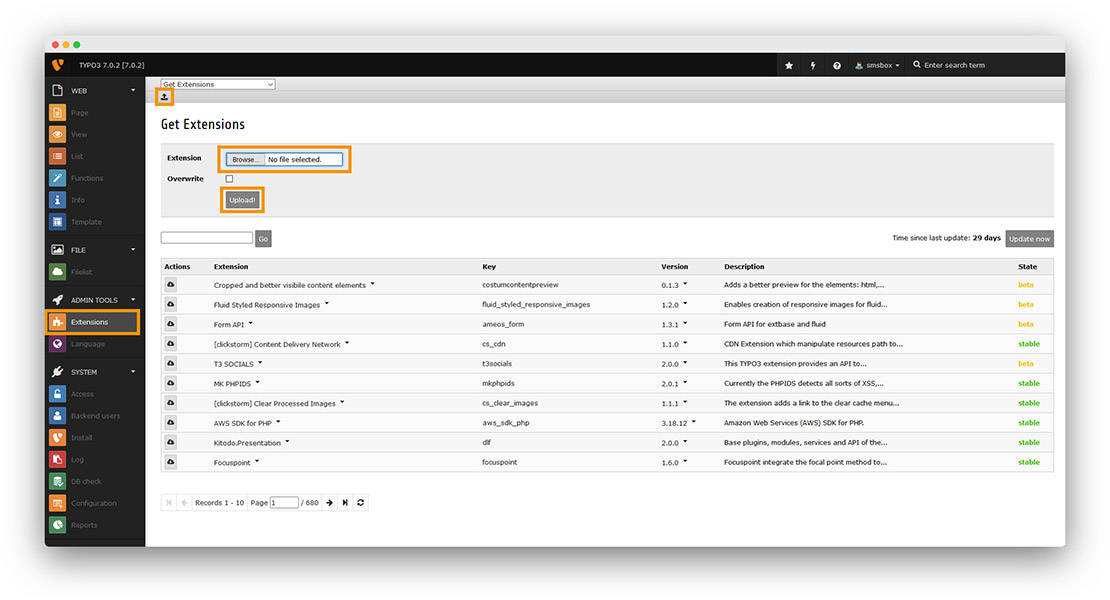
Step 1 Click the "Extensions" button, then the "upload" button and then select the extension zip file to upload it.
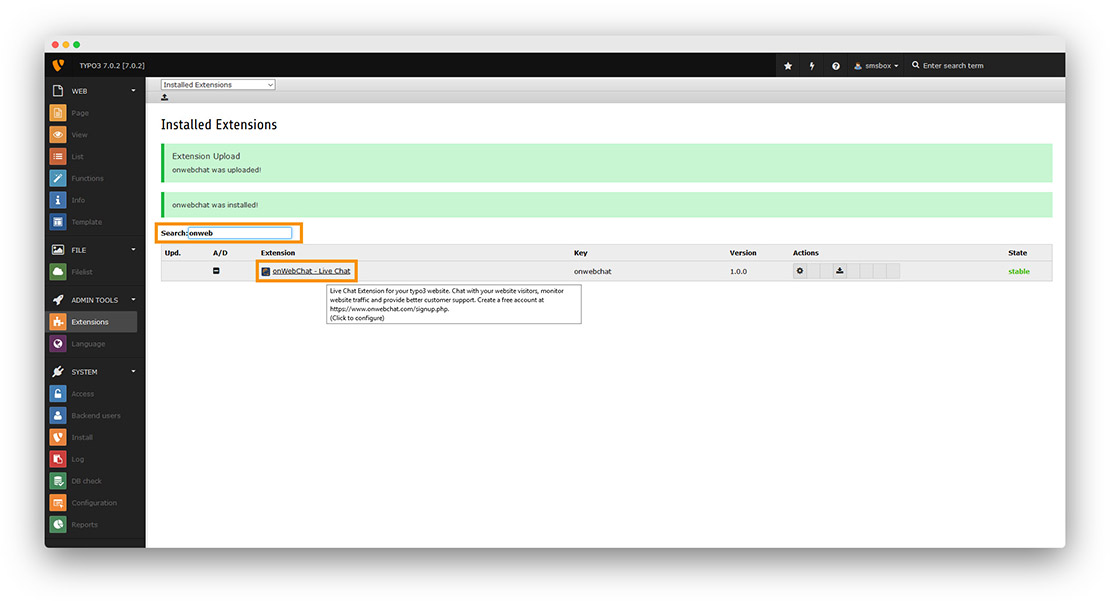
Step 2 Search for onWebChat TYPO3 extension and click on it.
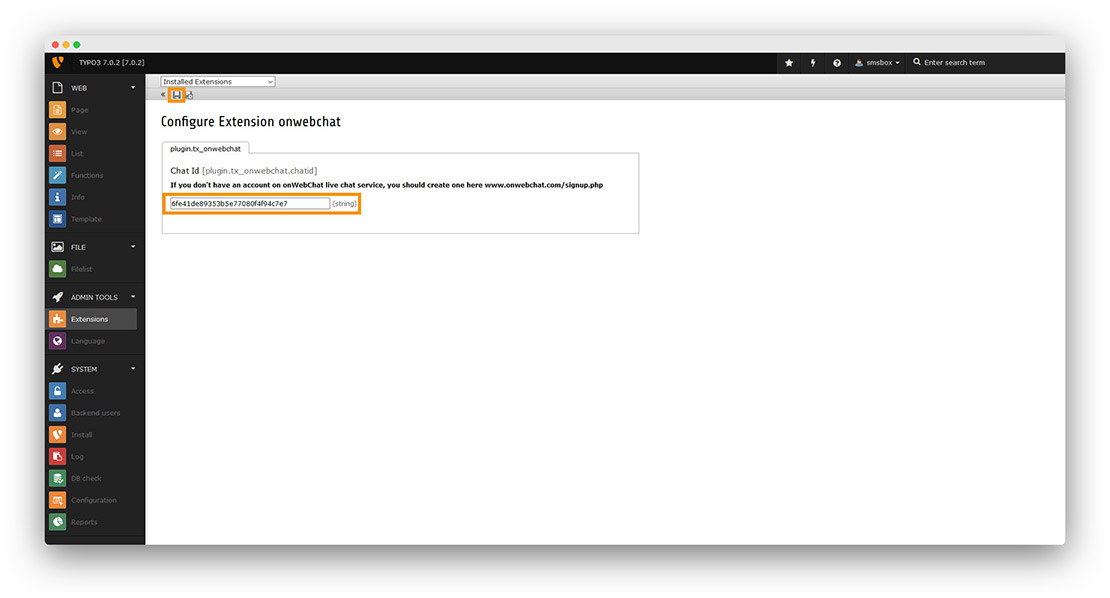
Step 3 Paste your Chat Id and click the "disk button".
If you don't have an onWebChat Chat Id, please create an account here.
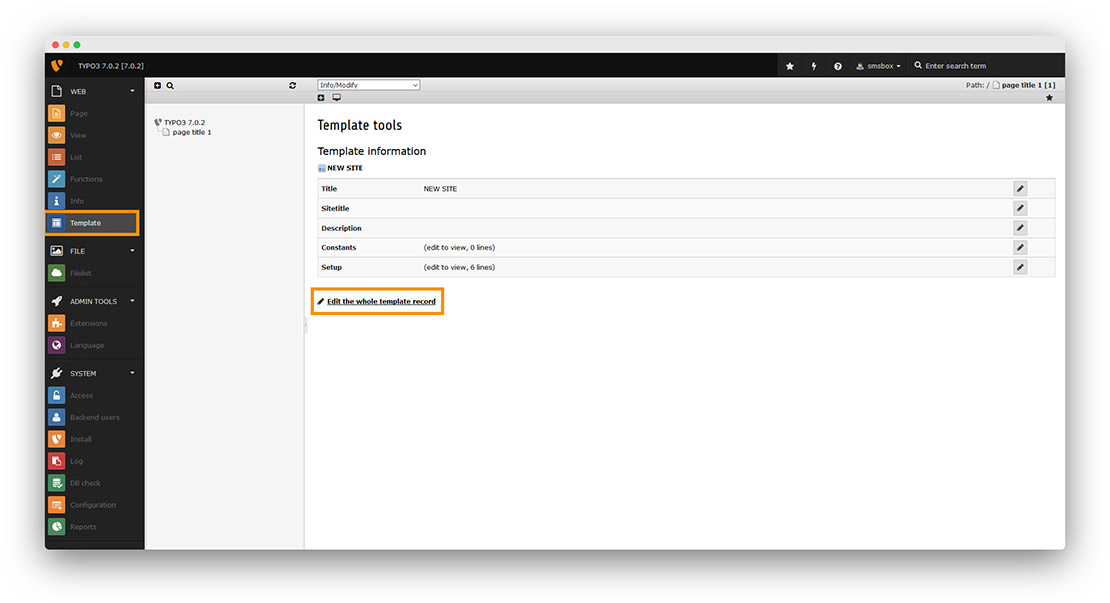
Step 4 Click on "Template" → "Edit the whole template record".
Step 5 Click on the tab "Includes" and search in right window for onWebChat. Click it to add it on "Selected Items" window. Finally, click the "disk button".
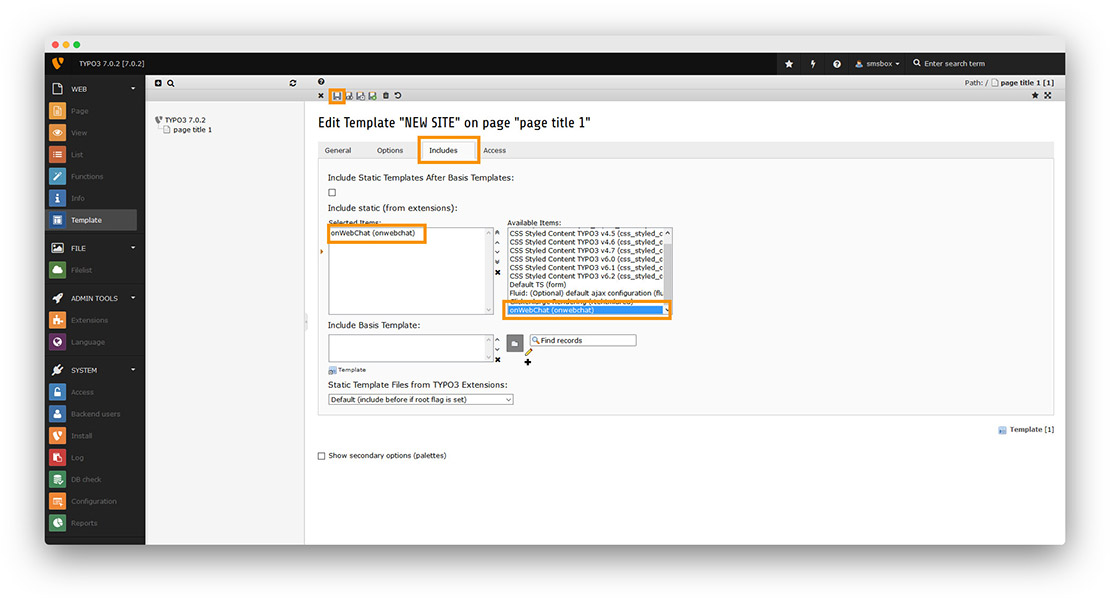
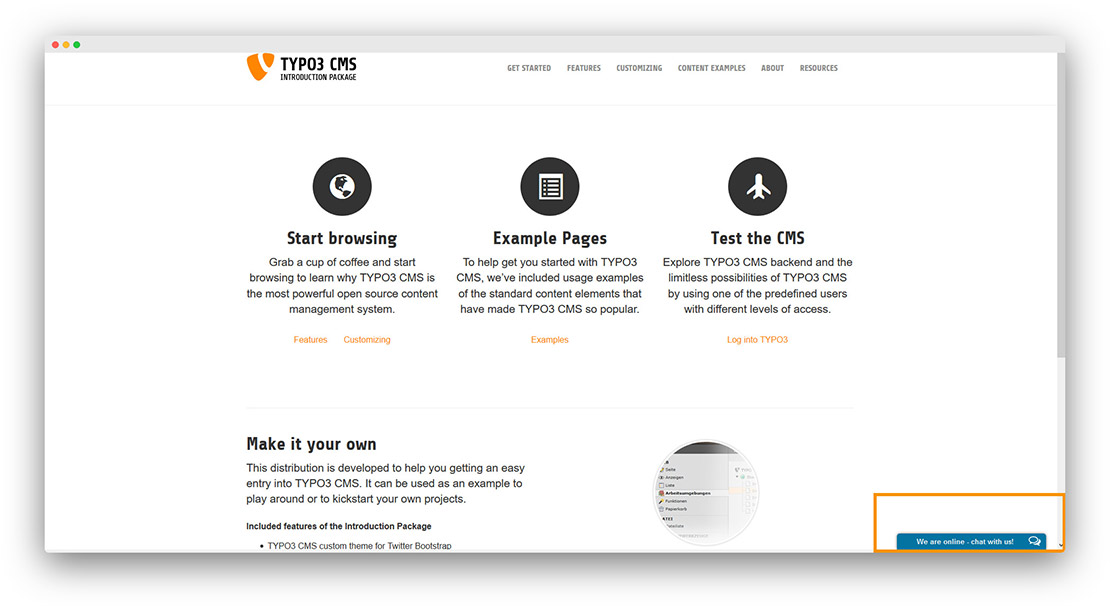
Congratulations! Your live chat widget is now available on your website.